Making the Graphics of Faery Tale
The most common question I get asked about the game Faery Tale, is How did I do the graphics? The short answer is Photoshop.
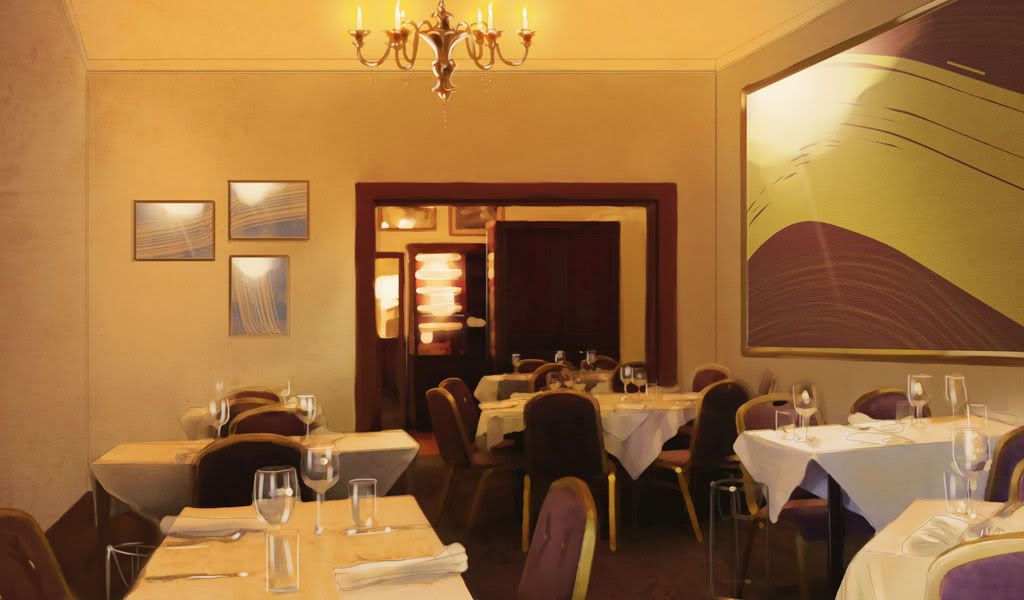
-- Every image is a multi-layered photo-manipulation that was heavily filtered multiple times to make them look like fairy tale art.
I'm a big-time art nouveau fan, as in the art of Alphonse Mucha, so that was the style I was aiming for.

While I am not about to give away every single secret to my techniques, mainly because they took months of experimentation to figure out, I am willing to reveal the basic process.
It all begins with Photoshop and quite a few Art Plug-Ins, such as:
~~~~~~~~~~~~~~
Topaz Labs: Clean 3, Adjust 4, and Simplify3
Alien Skin Snap Art 2
Imagenomic
And yes, I used ALL of these plug-ins for each image; background and characters.
The most important part of the process, however, is the Line Art. That was done using the Color Sketch action from 10 Sketch Effects, a Photoshop actions set that is available free on Deviant Art.
How I do it:
-- In Photoshop...
Stage 1: Pick a good image.
-- On the Background layer, make the lines using the Color Sketch action from 10 Sketch Effects.
~~~~~~~~~~~~~~~~~~
Note:
-- I use a rather expensive art plug-in for this process, but you can make a somewhat rougher version for Free by using Drawing and Threshold Actions 1 by eGulumse, specifically, the first action: 1- Çizim+path. (Experiment with the different styles. You might find one that works better for you.)
The trick is to make your line art with the 1 Color Sketch action, SAVE A JPG COPY in your files, (but don't close it!!!) Run the 1- Çizim+path on the color sketch line art. This will give you this result:
Stage 5: Hide the line art layer. Turn on the copy layer and Art Filter the untouched layer to make it look like a painting or drawing, or both.
I overlay a personally created scribble texture to break up the flatness of the colors then softlight two different splotchy watercolor-style textures, but a sketch type screentone texture can work for the scribble texture, and watercolor textures are easy to find on DeviantArt.
The Secret to Clean Character PNGs.
-- One of the most common problems with using an image that was originally a photo for something like a character or free-floating object, is that damned White Outline that tends to show up no matter how closely you clean it.
I got around that issue by first cleaning each image at 300 magnification, and using the Eraser tool -- NOT the Outline tool then hitting Clear. Yes, it's a pain because it takes a while to do it that way, but it's the cleanest you will get it, and you won't get a ragged, pixelated edge.
Next you add Inner Glow set to a Dark Color. I like to use a dark red or brown on character images because it blends well against skin tones.
THEN art filter your PNGs to your heart's content. Just be aware that many art filters will ADD a white outline that will need to be cleaned off again.